Resistance-based cardio is the best kind of cardio, in my experience.
You get the benefits of cardiovascular training AND strength training, all at the same time. And, even better, you can use progressive resistance to make the training even more effective.
I love this method because it allows me to just WORK. I don't have to think about setting up exercises, or what's next. I know exactly what's coming and I can just focus on putting in the effort.
This version, while simple to set up, is definitely more appropriate for home gym training. It's not advisable to take over a squat rack for almost 40 minutes to do this kind of training in a busy gym.
That being said, you CAN opt to just work your way up to the highest weight you can, then stop there. That'll likely take about 15 minutes or so. That's a reasonable time to be in a squat rack in a gym.
How To Do Heavy Interval Stepping for Cardio
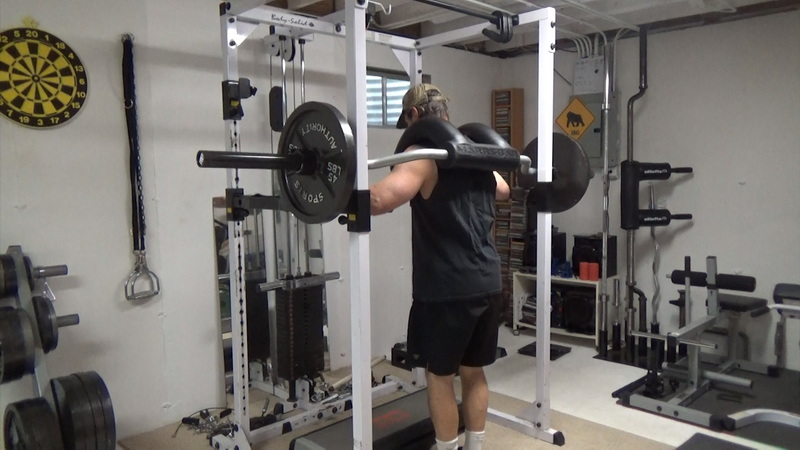
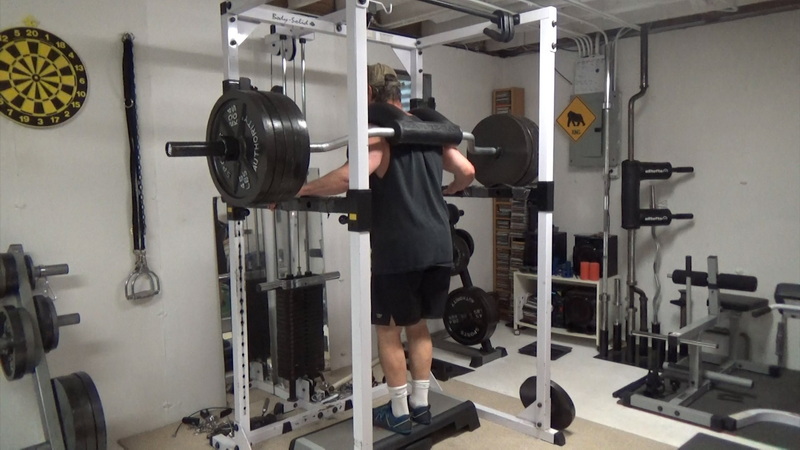
There are three things you'll need for this...a rack for safety, a Step platform and a bar.
Set the rack rails to just below where the bar is when it's on your back standing on the floor. Set a Step platform inside the rack.
In the demo, I'm using a longer platform with a 45 lb bumper plate just under the middle section, so that when the weight gets heavy, the Step doesn't bend or break.
Overall, we're not looking for a big step height... just 4-5 inches is fine. This will allow you to work in a very strong range of motion and use the most weight for the workout, which is really what we're looking for.
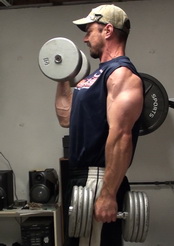
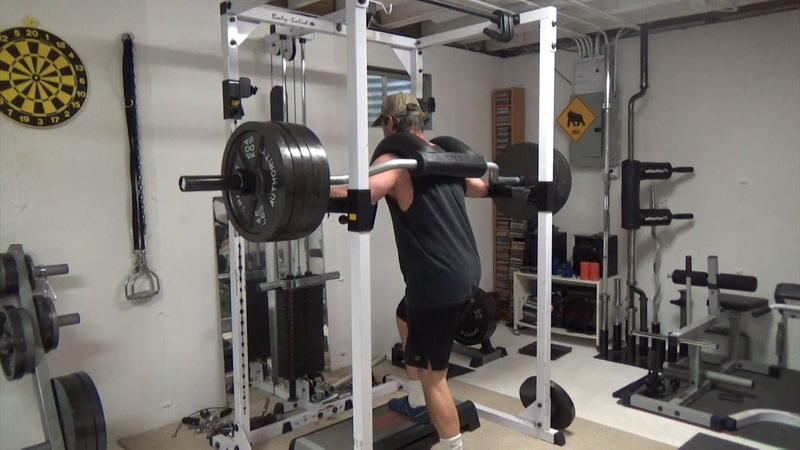
While not 100% necessary, this workout is going to be best done using a bar that you can use hands-free so that you can hold onto the rack rails for balance. I'm using something called a Marrs Bar, which loads you similar to a back pack. It's a fantastic bar with the best padding of any bar I've used, bar none (no pun intended).
Another option for a hands-free bar is a safety squat bar.
You can also do this workout with a regular squat bar held on your back just as you would for regular squatting (though this will require you to use less weight as balance will become more of an issue since you can't hold onto the rails).
This is doable but definitely more challenging in terms of balance.
I don't recommend dumbbells as they'll require you to use almost every dumbbell in the gym and your grip will give out before you get the full cardio benefits of the workout.
Here's how to do the intervals.
That works really well, however, I found THIS version works even better as you're not as rushed to get the weights changed and you get a bit more rest between intervals.
You're going to do 1 minute work and rest intervals, with bigger jumps in weight each time.
This helps with performance and allowed me to work up to a load almost 100 lbs heavier, by the time I peaked.
- I started with just one 45 lb plate on each side of the bar (155 lbs). This first interval is going to be very easy and serves as a warm-up.
- Do stepping for an interval of 1 minute...start with your left foot for the first 30 seconds, then go to stepping up with your right foot for the second 30 seconds of that minute.
- Now, during your rest period, add weight to the bar. I added a pair of 25's, increasing the load by 50 lbs total.
- Do another interval (left foot lead for 30 seconds, then right foot lead for 30 seconds), then rest again and add weight.
- This time, I removed the 25's and added 45's for a 40 lb total jump in weight.
- Keep repeating this pattern, increasing the weight on each rest period.
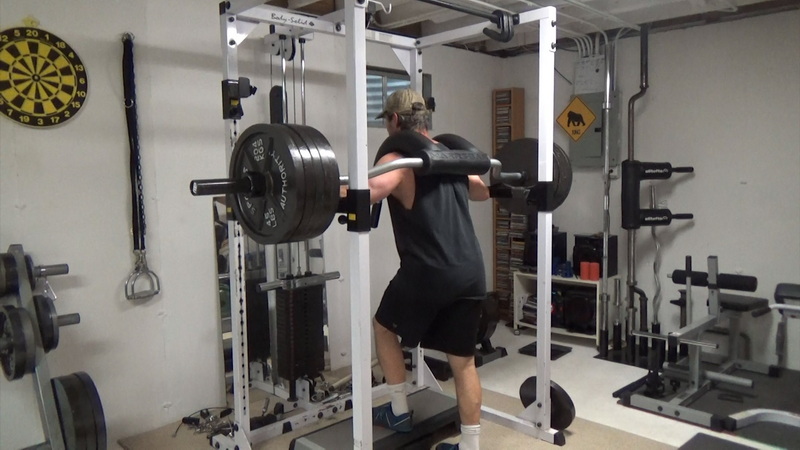
- I worked up to 515 lbs at the peak. How high up in weight you go will depend on your own capabilities. That load was VERY challenging for me and I knew I couldn't go any heavier and still finish the 1 minute interval. You'll see how slow the stepping got in the video.
- Then reverse the pattern, coming all the way back down to your starting weight.
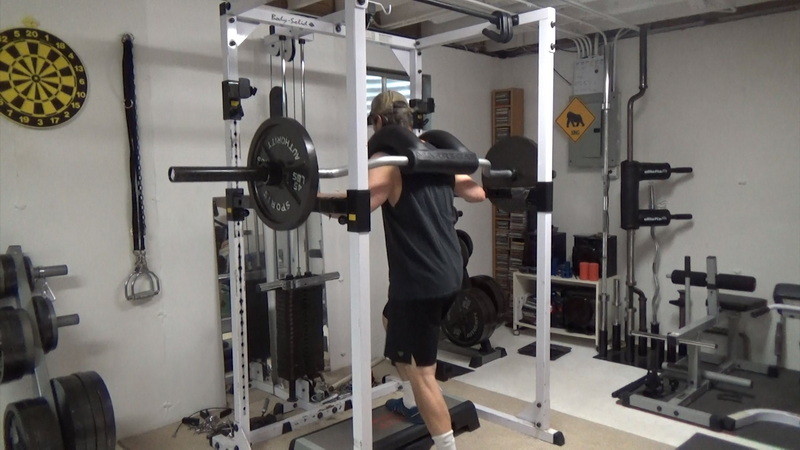
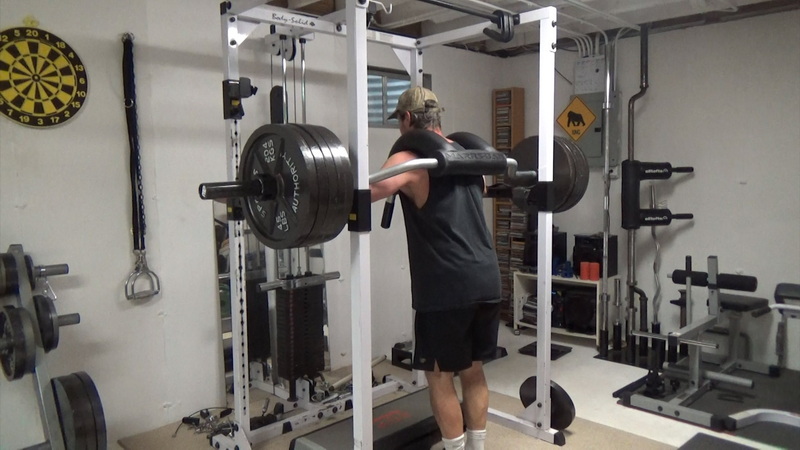
Here's what the stepping pattern looks like.
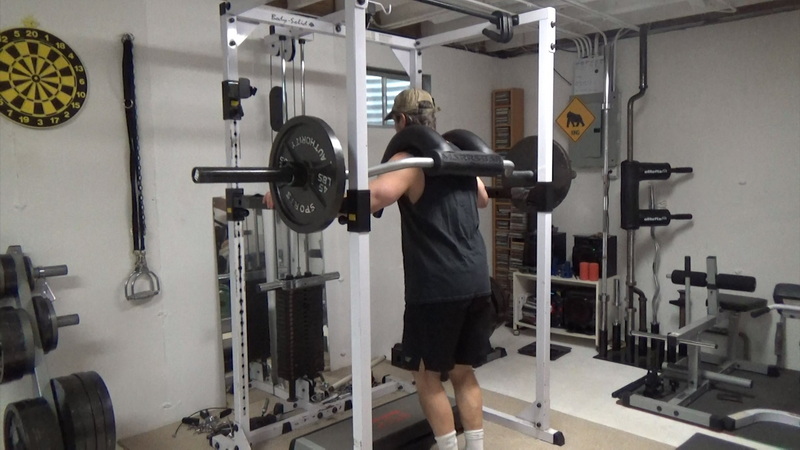
Start with both feet on the floor, standing in front of the Step.
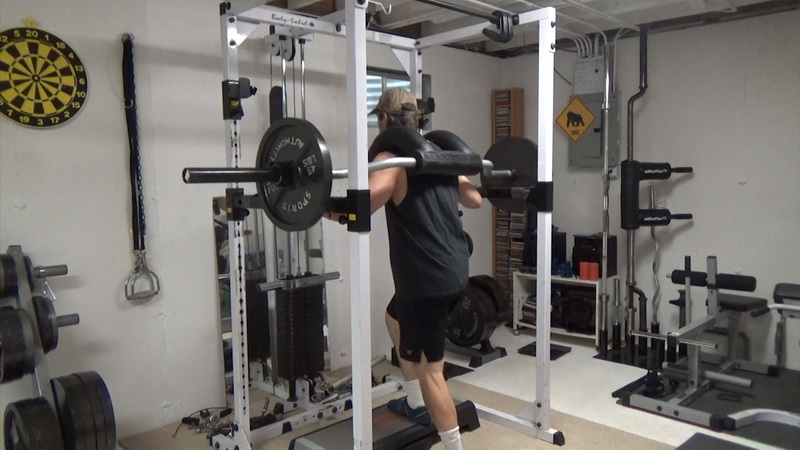
Set your left foot on the top.
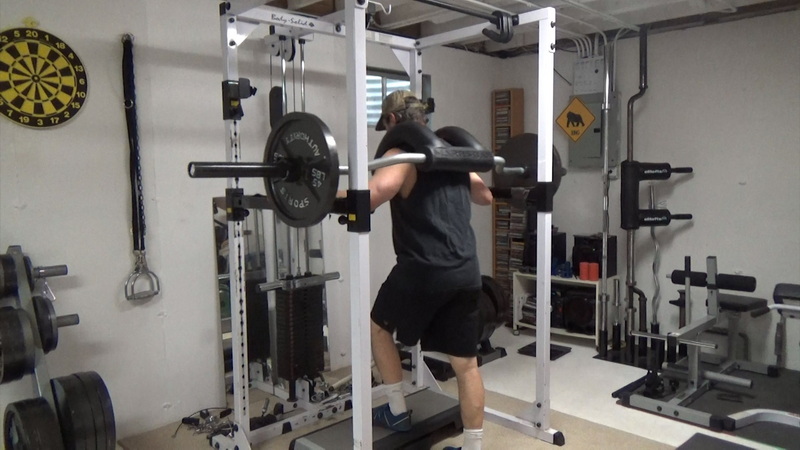
Now step up with your right foot.
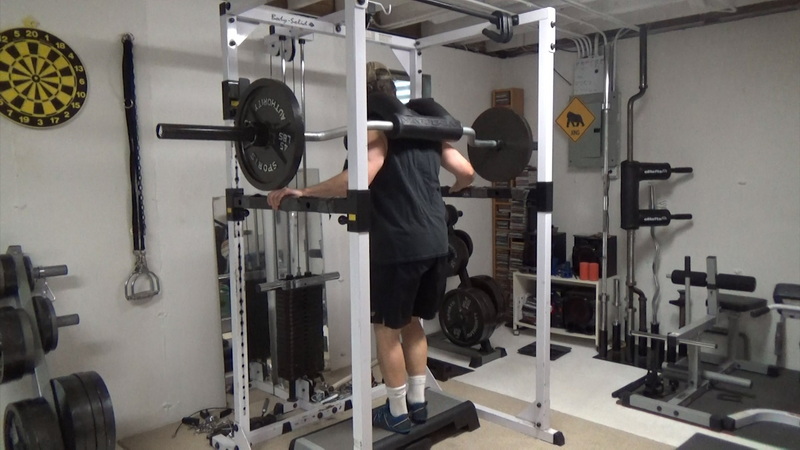
Step down with your left foot.
Then step down with your right foot.
And repeat for 30 seconds. Then immediately switch to leading with your right foot.
That's the basic pattern...keep this up all the way through so you don't have to think about which leg you started on last time (one less thing to think about).
Now the fun begins.
Add 50 pounds to the bar (25 lbs per side) then do the next interval.
Then repeat, adding weight s to the bar during every rest period (I outlined above how I did it).
I ended up with 515 lbs on the bar on my higher level.
If you don't want to go as heavy, you can also add weight every second interval instead of every interval.
This will result in a lower top-end weight while still giving you an easy-to-follow pattern.
Once you hit your peak load, you can stop there or work your way back down.
Before I did this workout, I considered going all the way down then coming back up and back down again. By the end of it, I realized that wasn't necessary. Going to the peak, then coming back down is plenty.
Now, if you're training in a regular gym, you may have people waiting for the rack...15-20 minutes is not unreasonable to use a rack, but 40-45 minutes is, so you may need to just go up then stop.
However, if you're training at home or the gym is not busy, go nuts.
You will be soaked with sweat by the time you're done. This hits just about everything your entire body.
This workout is a great challenge and a fantastic way to get cardio training while developing incredible work capacity and strength-endurance.
---

Share This Page...